When subscribers open your email, you want them to take instant action. Ideally, if you send a promotional email with a limited-time offer, for example, the customer would open the email, click the call-to-action, and make a purchase. Of course, it doesn’t always work that way. But, what if there was a way to give customers a little encouragement to act? There is.
You can add a countdown timer to your next email. The presence of a timer creates a sense of urgency, which can generate transaction rates that are twice as high as rates generated from generic emails.
Pinpointe and NiftyImages have formed a partnership to help create a customized countdown timer for your next email. We’ll look at examples and provide step-by-step instructions to produce a timer for your event, sale, or special offer.
How does the countdown timer work?
NiftyImages is an online platform that gives you the opportunity to create personalized images and countdown timers. (If you’re interested in learning more about creating personalized images, check out this article with instructions to get started).
You can go to NiftyImages.com, sign up for a free account, and create a countdown timer and can sign up for a free trial of Pinpointe or set up a live demo.
NiftyImages offers several template timers that can be customized. You can:
- Select a date, time, and timezone for the timer to expire
- Edit the font color, font size, and background color
- Put a timer on top of a background image that you import
- Set the timer up in 40+ different languages
- Create an image that subscribers see once the timer expires
With a timer created and saved, you’ll copy the URL provided by NiftyImages and paste it into your Pinpointe email template. When the email is sent, the timer starts when the email is opened.
What kind of customization can be done?
The countdown timers are versatile. You can customize the timer within NiftyImages builder by selecting:
- A subscriber’s time zone
You can set up a timer to countdown to a specific time based on a person’s time zone. If you’re trying to countdown to midnight on New Year’s, for example, the timer will be different for customers in New York versus those in California.
- A defined date from your customer profile

You can set a timer to revolve around individual dates that you’ve gathered from the customer. For example, if you’ve collected birthdates of your customers, you can create a birthday email that’s sent to your entire list of contacts, but dynamically counts down to each subscriber’s individual birthday.
- Whether the timer counts up or down
Most people want to countdown to a special event or to the end of a sale, but you do have the ability to count up too. For instance, to show customers how long they’ve been a VIP member a timer could count up from their profile activation date not up.
6 Examples of countdown timers used in emails
Wondering how to incorporate a countdown timer into your next email? There are many ways to utilize a timer, but here are six examples for inspiration:
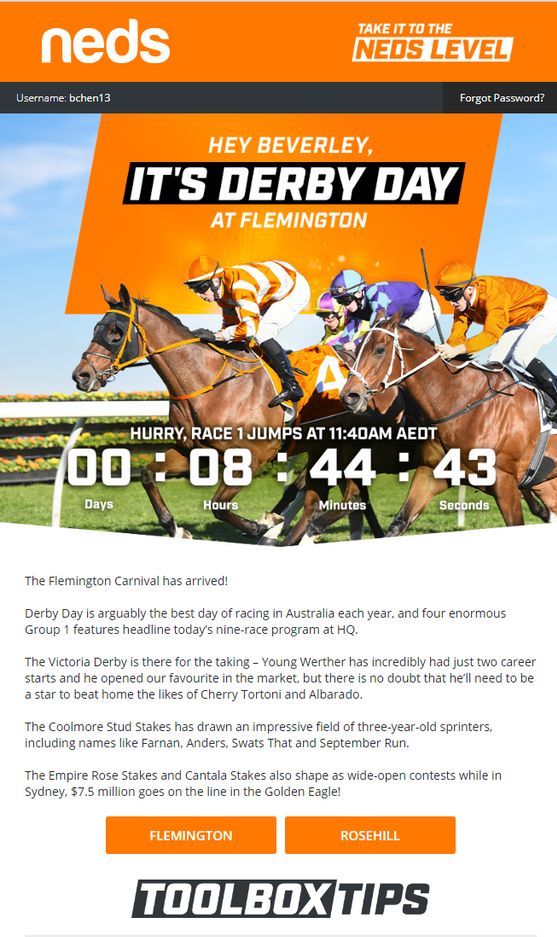
- Countdown to an event
If you’re hosting any kind of event, use a countdown timer to promote it. Whether you’re hosting a fundraiser, webinar, conference, trade show, 5K race, or a concert, an email that counts down to the event day and time is a great way to motivate people to attend.
Take a look at this email that promotes Derby Day:
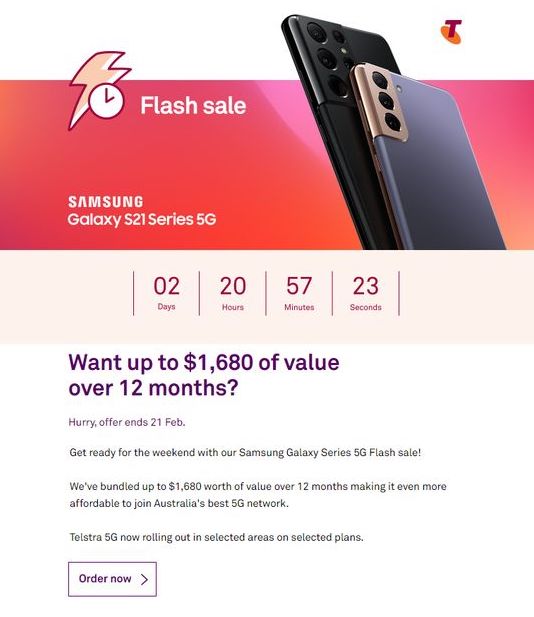
- Promote a flash sale
If you’re planning a flash sale, use a countdown timer to encourage subscribers to act fast. Here’s a great example of an email that promotes a flash sale with a countdown timer:
- Encourage subscribers to claim a gift
Some companies offer coupons while others offer a free gift with a purchase. If your company likes to incentivize customers by offering a free treat, this next email example is for you. This store is offering customers a free bead for a bracelet if they make a minimum purchase.
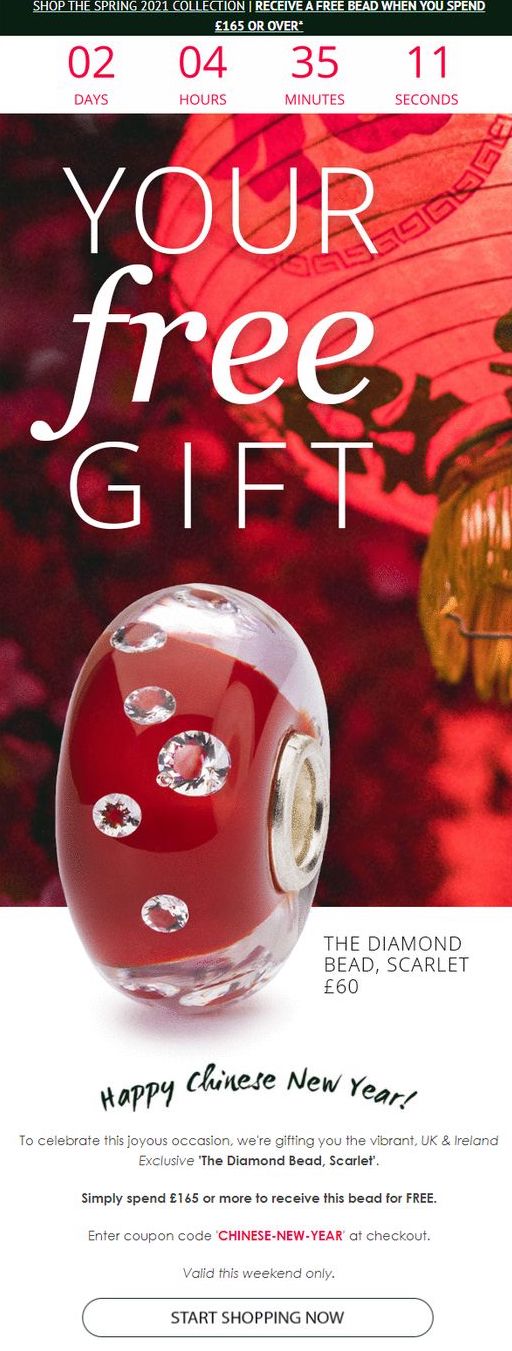
This email is for a free product, but you can use the same concept to give anything away for free. Give away a free trial to your software, a 15-minute consultation, access to an online resource that you usually charge for, or membership to a site for a limited time.
- Give subscribers a discount
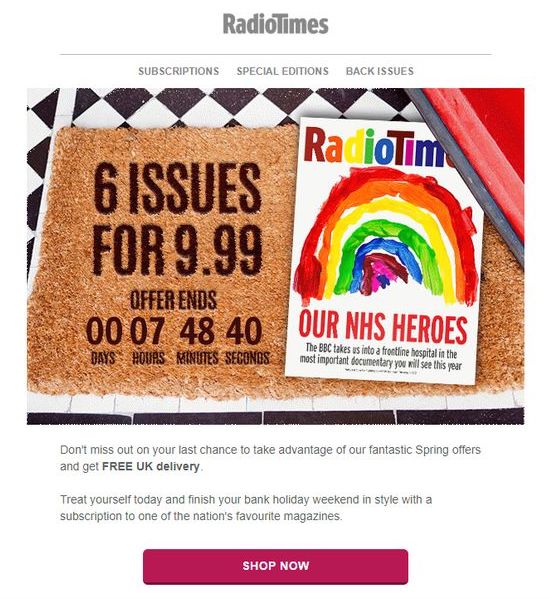
The idea of giving customers a “limited time offer” isn’t new, but introducing a countdown clock is a modern way to emphasize the urgency to act. Here’s a great example of a countdown timer used to encourage people to get a magazine subscription at a great price:
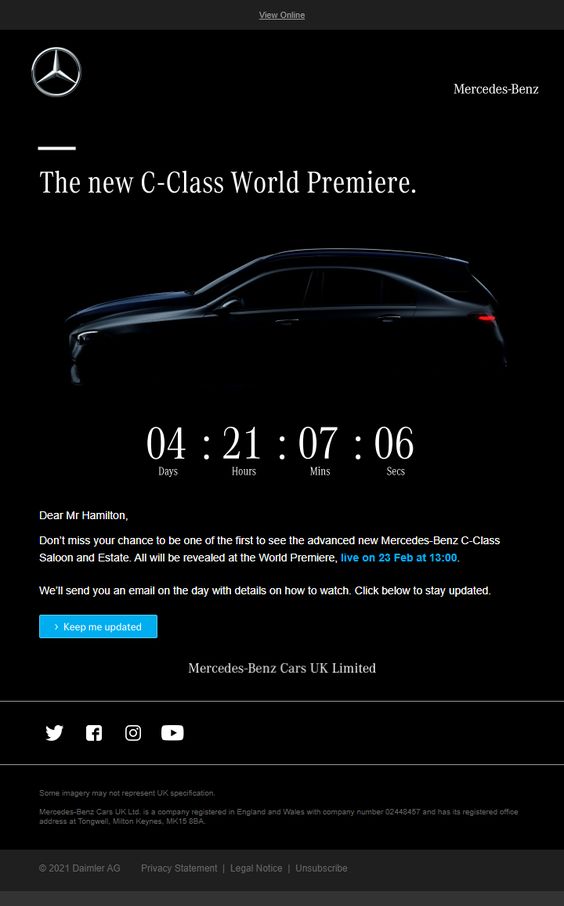
- Reveal a new product
When you’re about to reveal a new product, generate some excitement by counting down to the exact minute of its reveal. In the example below, Mercedes invited customers to be the first to see two new models in a live world premiere.
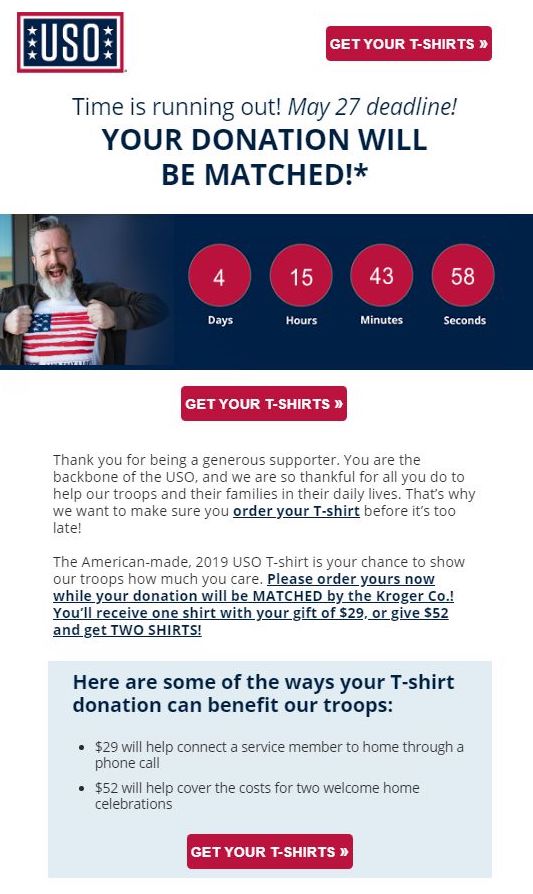
- Set up timed fundraisers
Nonprofits can utilize countdown timers by setting timed fundraisers. In the example below, donations made to a nonprofit were matched by a company for a limited time. The countdown timer pushes donors to act within a certain timeframe to maximize their contribution.
How to create a countdown timer and add it to a Pinpointe email template
Ready to create your own countdown timer for your next email? There are step-by-step instructions below, but you can also watch this video:
- Open Pinpointe and NiftyImages
To get started, open both Pinpointe and NiftyImages in two separate tabs.
You may need to set up these accounts first. You can set up a NiftyImages account for free and sign up for a free trial of Pinpointe or schedule a live demo.
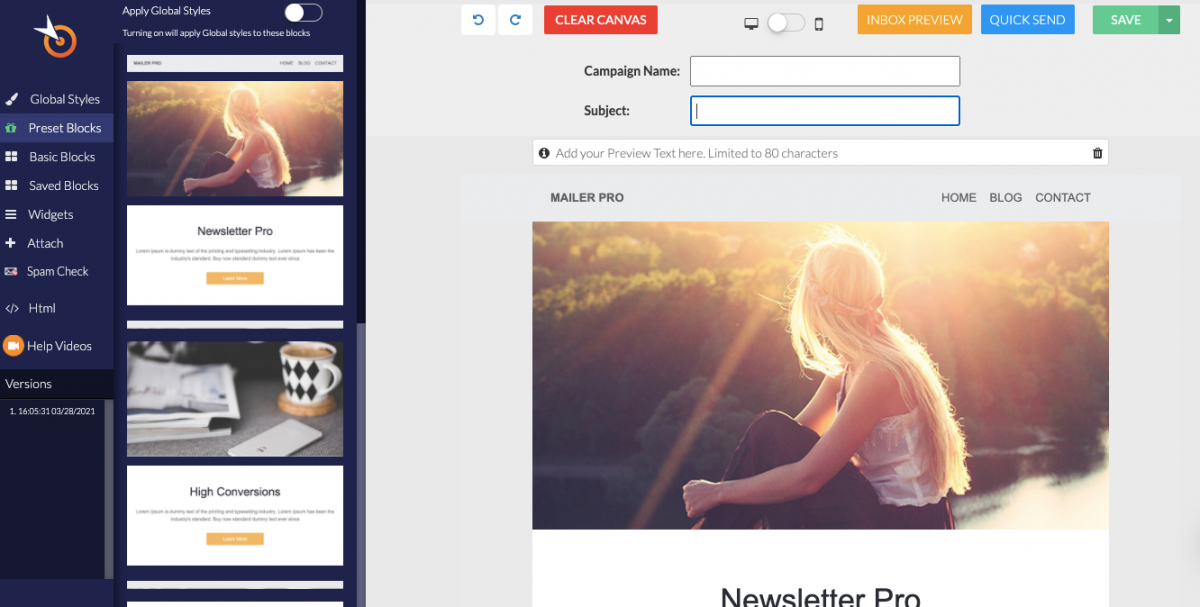
- Create an email with Pinpointe’s Drag and Drop Email Builder
In Pinpointe, go to Email Campaigns, New Campaign. Select the Drag and Drop Campaign Builder and find a template you like. Name the template and click Create. For our example, we picked the template below and plan to replace the top image with our countdown timer.
- Plan your email
How do you plan to use your timer? It’s important to have a plan for your email. Take some time to figure out what you’ll put in the email, what assets you need, what offer you’re going to include, and who you’re going to send it to.
In this example, we’re going to create a countdown timer for a webinar. The clock will sit at the top of the email and encourage people to RSVP quickly.
- Make a timer in NiftyImages
With your account set up on Nifty Images, click on the pink button that says, “Create Image, Timer, or Data Source” and then select “Countdown Timer.” Select a countdown to customize from the handful of timers that are offered. We’ll pick this one:
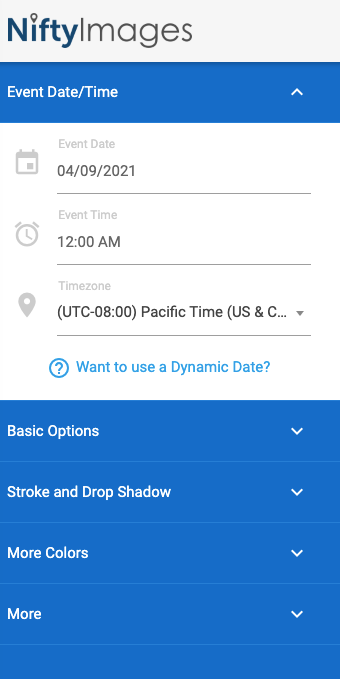
On the left side, you’ll see a toolbar where you can customize the timer. First, you’ll customize the Event Date/Time. If you’re hosting a webinar, like in our example, you’ll put in the date and time of the event. It’s the time that the timer will expire, or read all zeros.
If you’re using a clock to count down the hours to a sale’s end, use that as the timer’s date and time.
Now, work your way through the options on the left. Next is Basic Options. Here you can change the font, font size, font color, background color, or add a background image.
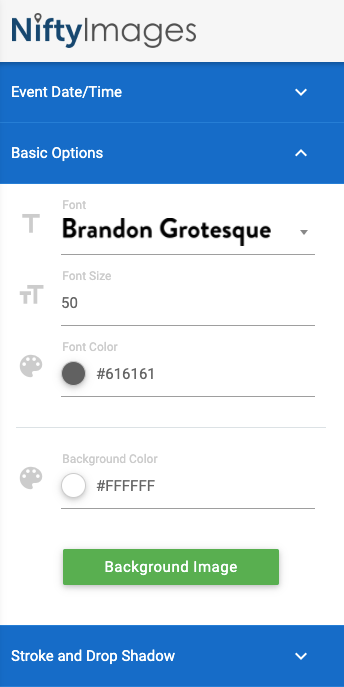
For our example, we’ll add a background image to the timer. We’ll select Background image and upload it to the builder.
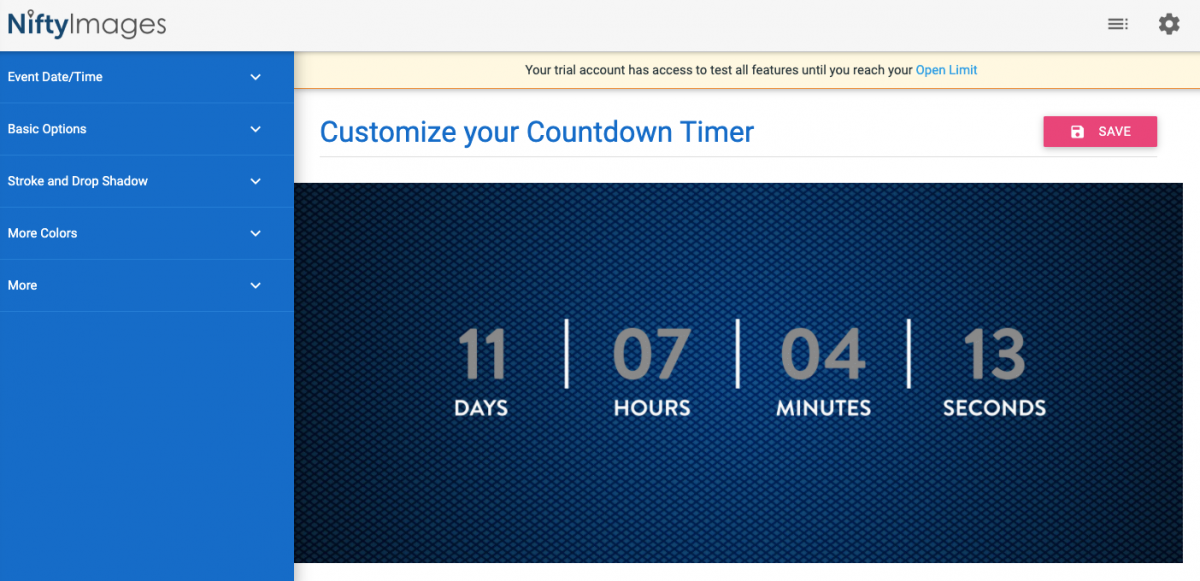
Along the toolbar, you’ll also see Stroke and Drop Shadow where you can alter the outline of the numbers on the clock and the shadow surrounding the numbers.
The next option is More Colors, where you can change the colors of the text under the clock, which reads, “Days, Hours, Minutes, Seconds.”
Under More, you have a few more customization options like removing days from the counter or flipping the counter to count up instead of down.
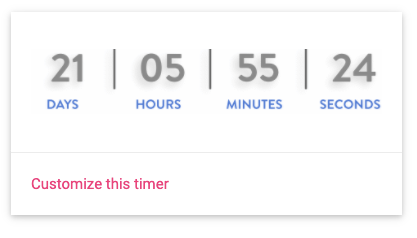
Here’s what our countdown timer looks like.
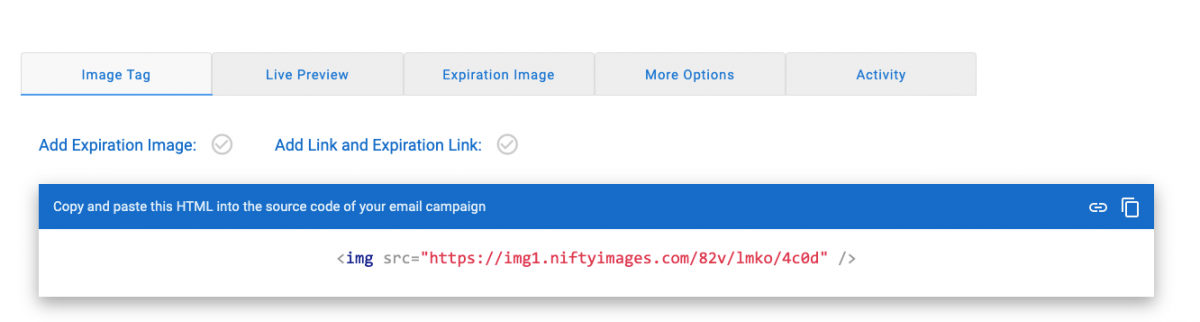
We’ll save it and then be given a piece of code on the next screen, which looks like this:
- Customize the timer further (optional)
When you get the code, you have several additional options that you may want to take advantage of.
- Create an expiration image
Click on Expiration Image to create an image that will appear once the timer has expired. The image might simply say, “This offer has expired.” If the subscriber opens the email after the timer has expired, this image will show up.
- Customize when the timer starts
You can click on the More Options tab to adjust the timer based on a person’s time zone. If you’re inviting people from different time zones to your event, it’s a good idea to use this feature so the clock stops at the correct time in a person’s given time zone.
You can also set a dynamic time that changes for each subscriber. For instance, you can set the timer to expire three hours after an email is opened.
- Add your timer to the Pinpointe template
Go back to the Pinpointe template that you selected. Click on the image that you’d like to replace with the timer. On the toolbar, look for Image URL and paste the URL that NiftyImages provided into the bar.
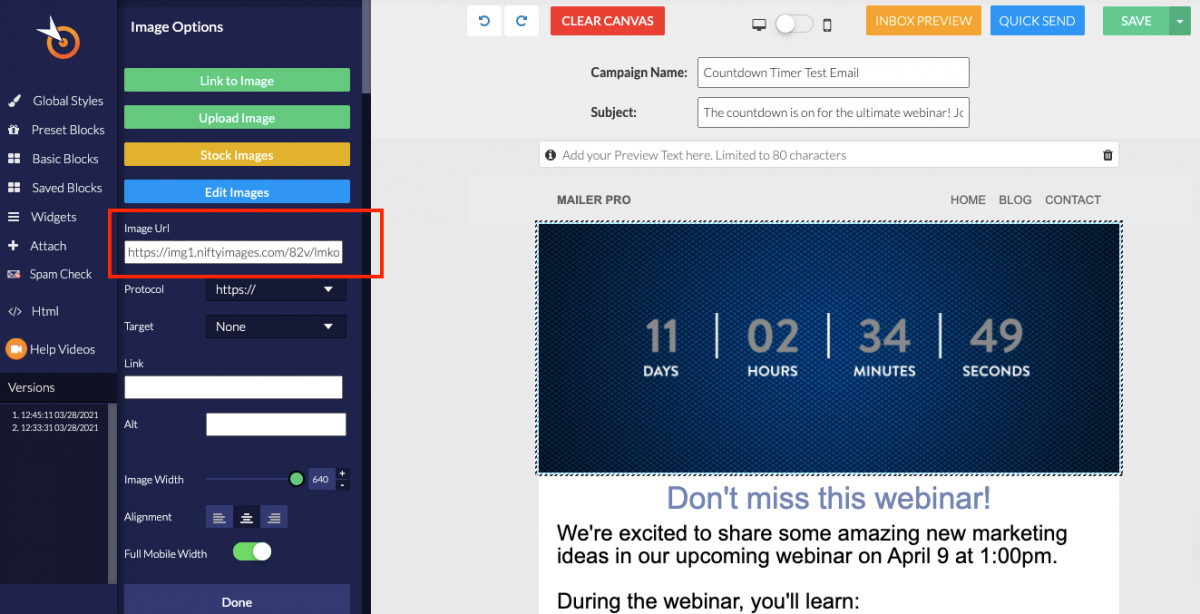
Make sure you only paste the URL, not the entire piece of code. NiftyImages provided this source code:
<img src=“https://img1.niftyimages.com/82v/lmko/4c0d“ />
You only want to copy and paste the text in red.
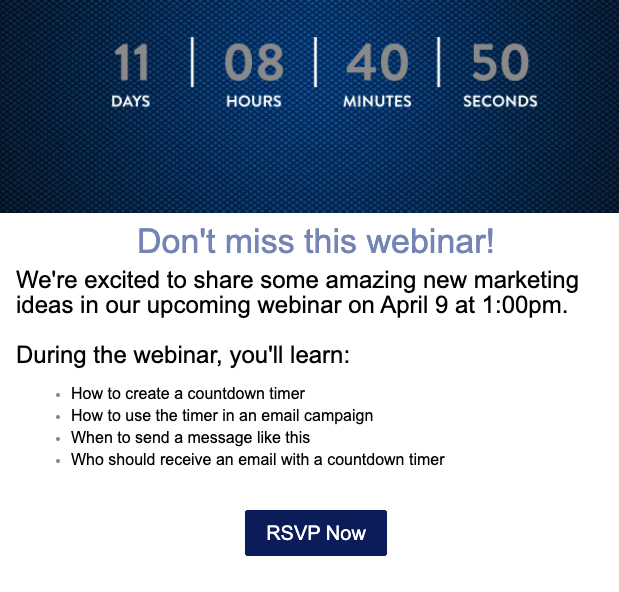
- Send a test email
Before sending the email to a segment of subscribers, send a test email to yourself. Check your email to make sure the timer is working correctly. Here’s what our example looks like fresh from the inbox:
- Send the email and track your results
With your innovative new email created, it’s time to send it to customers. Remember, it’s always a good idea to create emails that are geared toward smaller segments of contacts than it is to send mass emails.
Once it’s sent, keep an eye on your response rates. Pinpointe has excellent reporting features that explore the effectiveness of your campaign.
Wrap up
Take your email campaign to the next level by adding a customized countdown timer. The combination of NiftyImages and Pinpointe gives users a modern way to create a sense of urgency around an event, promotion, or sale. Don’t forget, you can also create personalized images with NiftyImages too. Check out, Using Dynamic Images To Increase Email Engagement to learn more.